
Pre-installation inspection
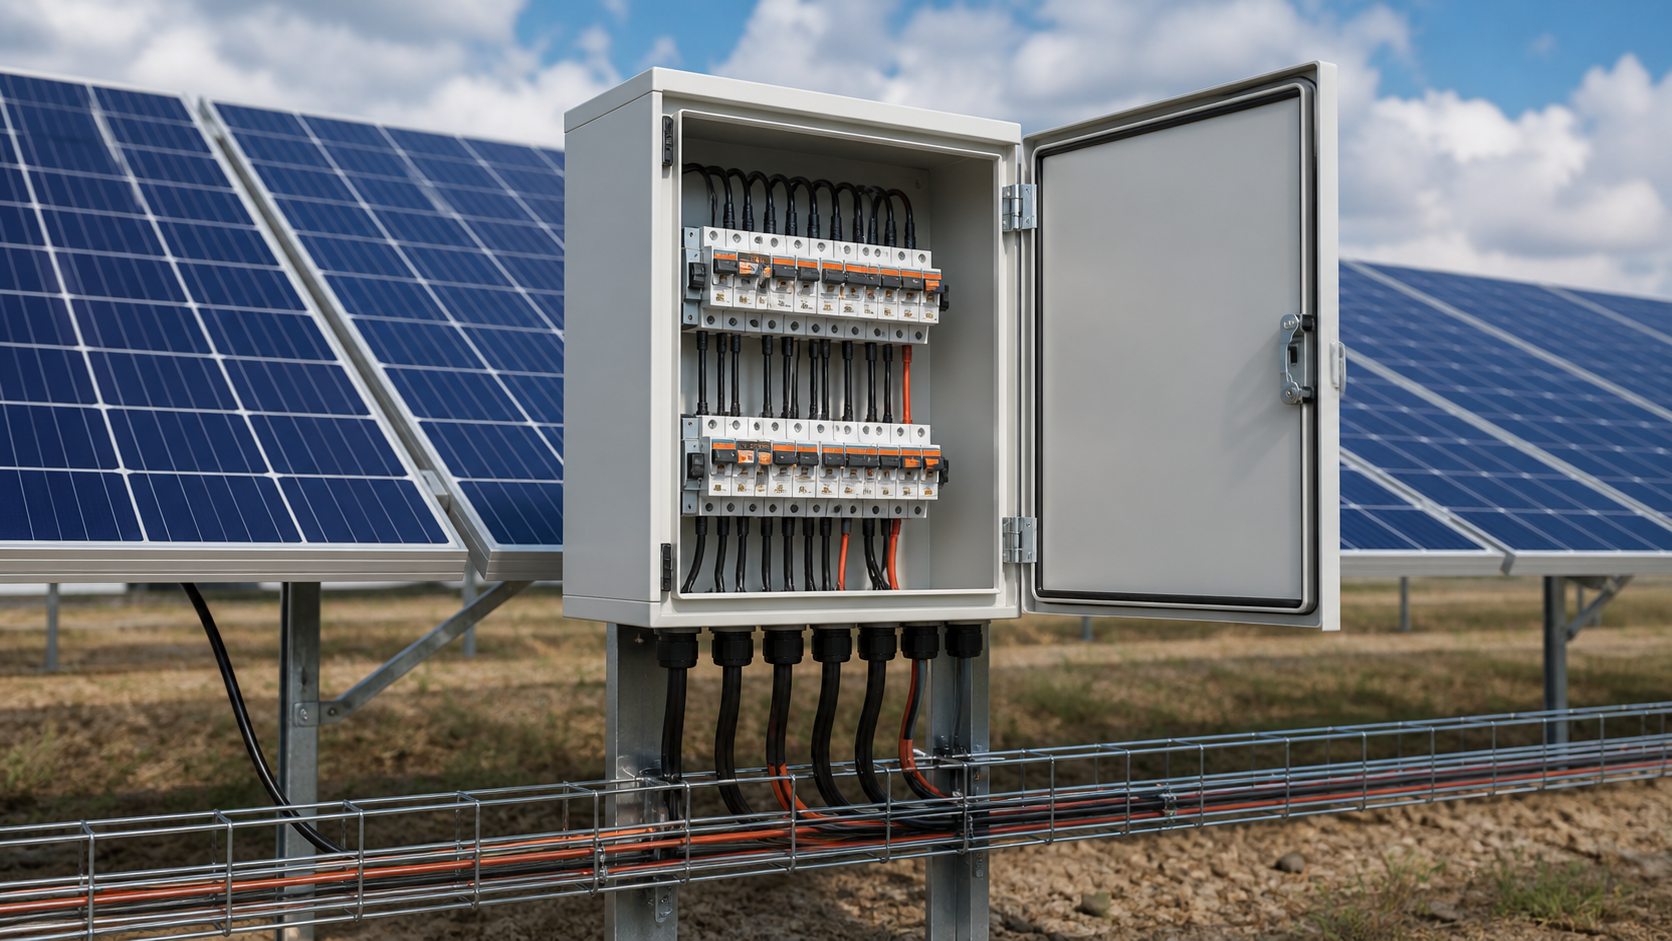
Before any fixing begins, verify that the delivered enclosure matches the project design. A short check at this stage prevents costly rework once the box is sealed on the structure.
- Confirm the rating plate: maximum system voltage (1000 V or 1500 V DC), number of string inputs, and continuous current rating.
- Check that every gPV fuse, DC disconnect switch and surge protective device matches the approved bill of materials.
- Inspect the enclosure for transit damage, verify the IP rating and corrosion class, and confirm the cable glands and seals are present.
- Open the door and confirm the PE bonding bar, busbar and terminal blocks are clean and undamaged.
Choosing the mount (wall / pole / floor)
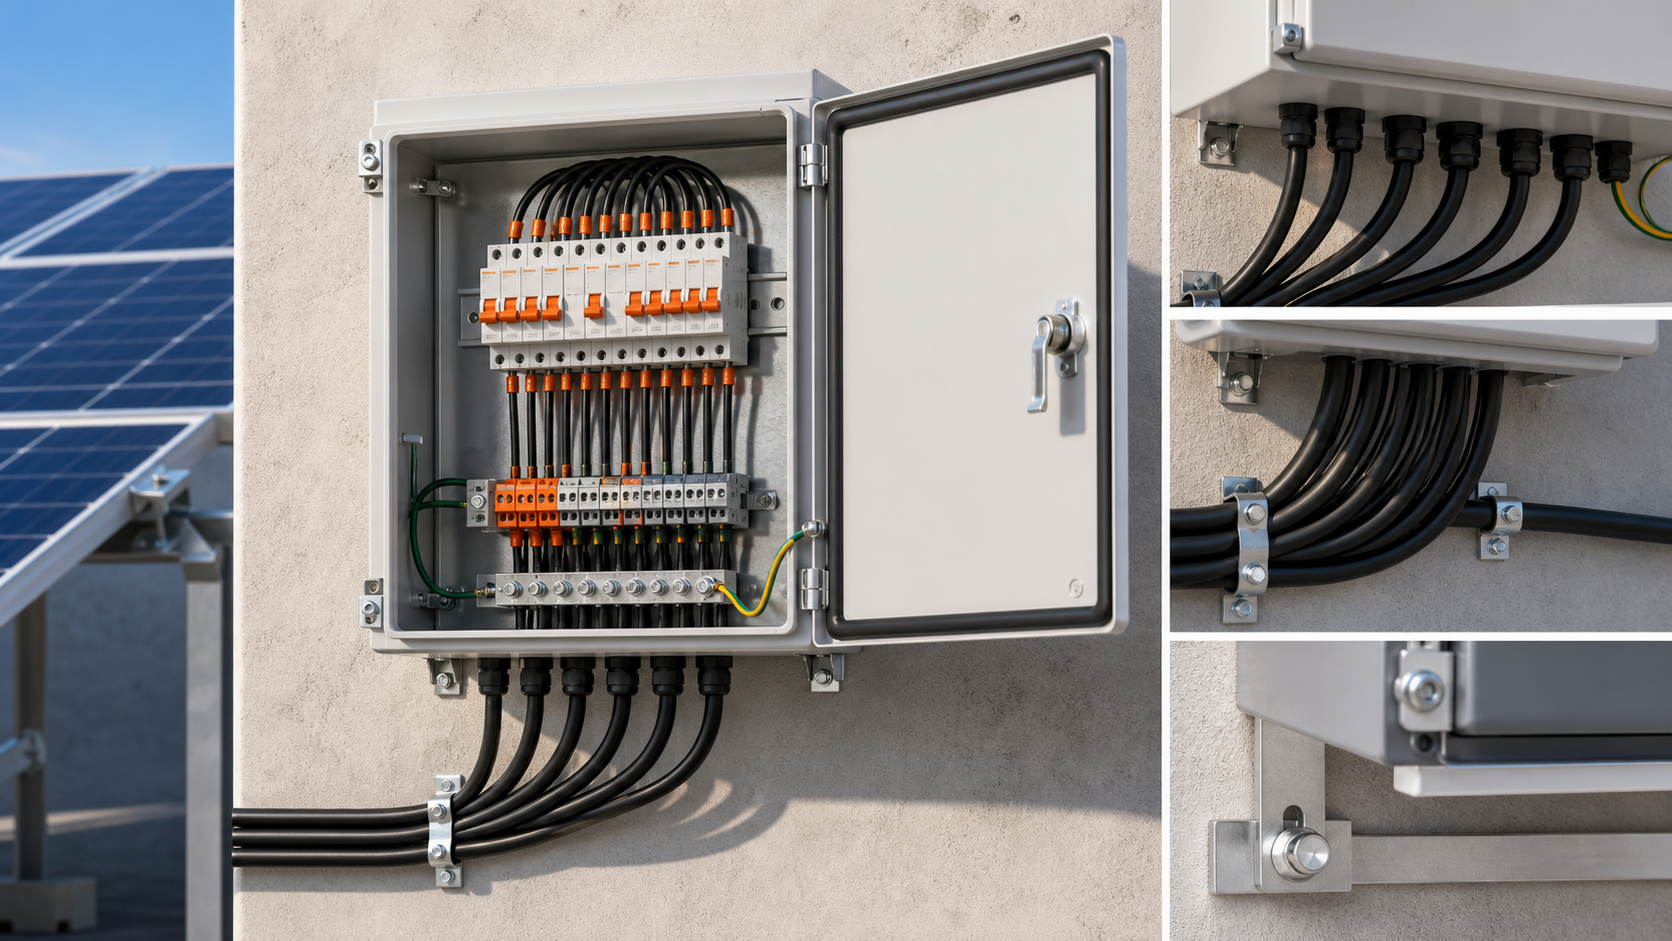
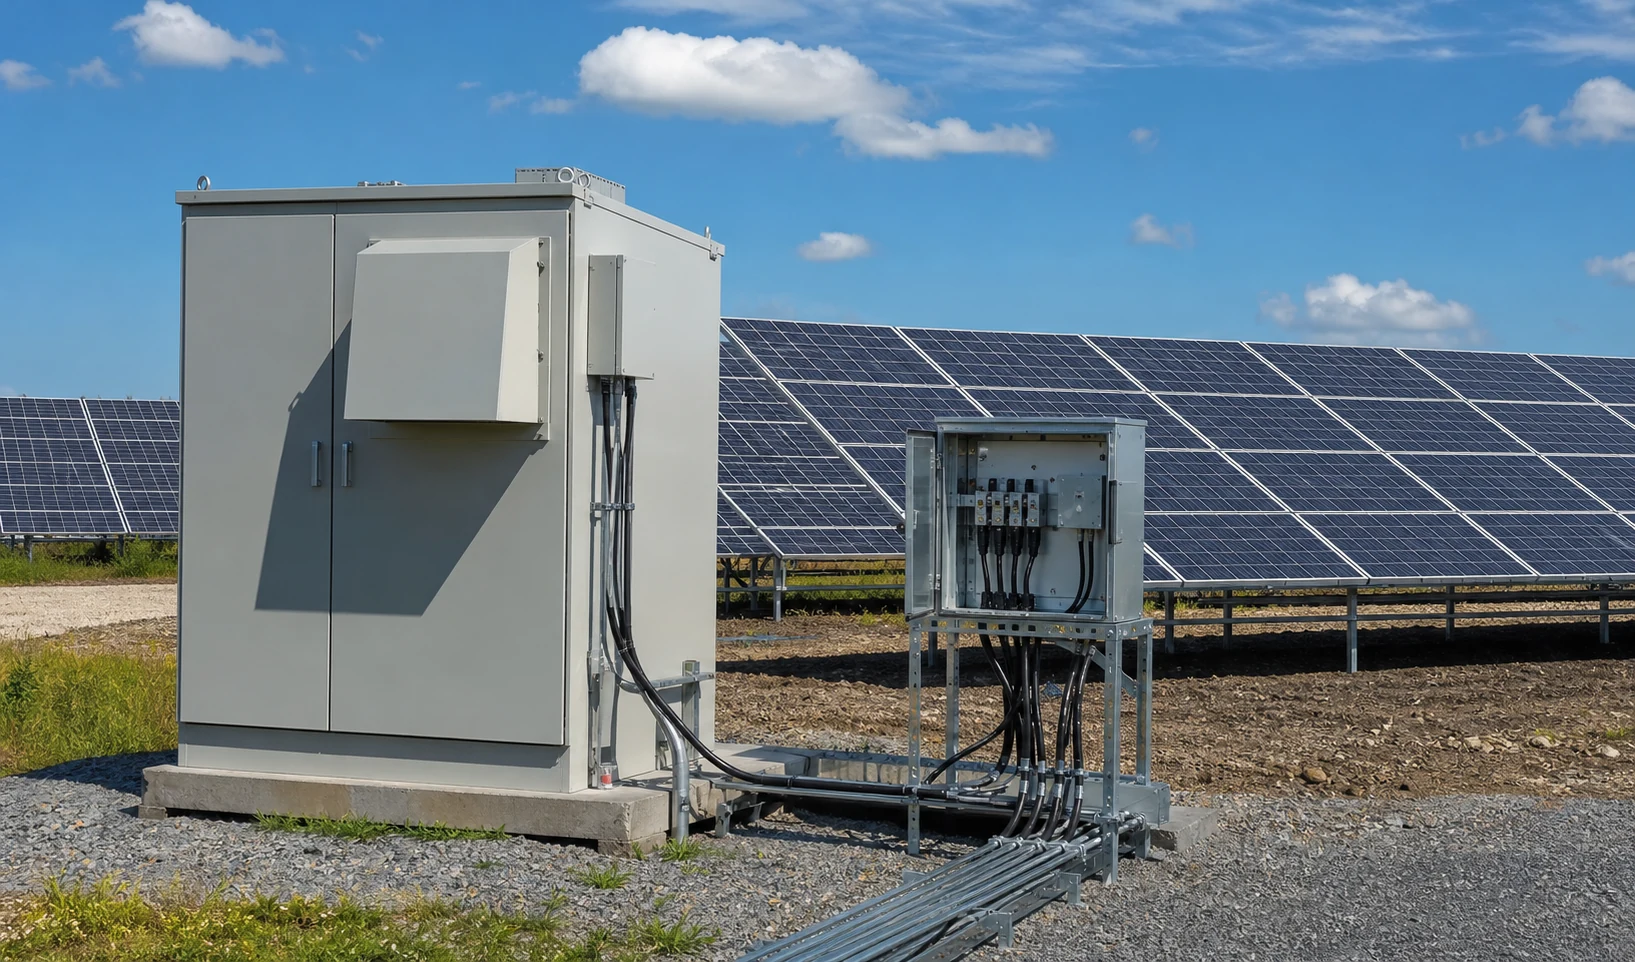
The mounting method depends on the array layout. Rooftop and building-mounted plants usually use a wall bracket, while ground-mount arrays often use a pole kit or a floor-standing plinth. The chosen method must carry the enclosure weight plus cable loads and resist local wind and snow loads.
- Wall mount: fix to a solid concrete or steel substrate; use stainless brackets and spread the load across multiple fixings.
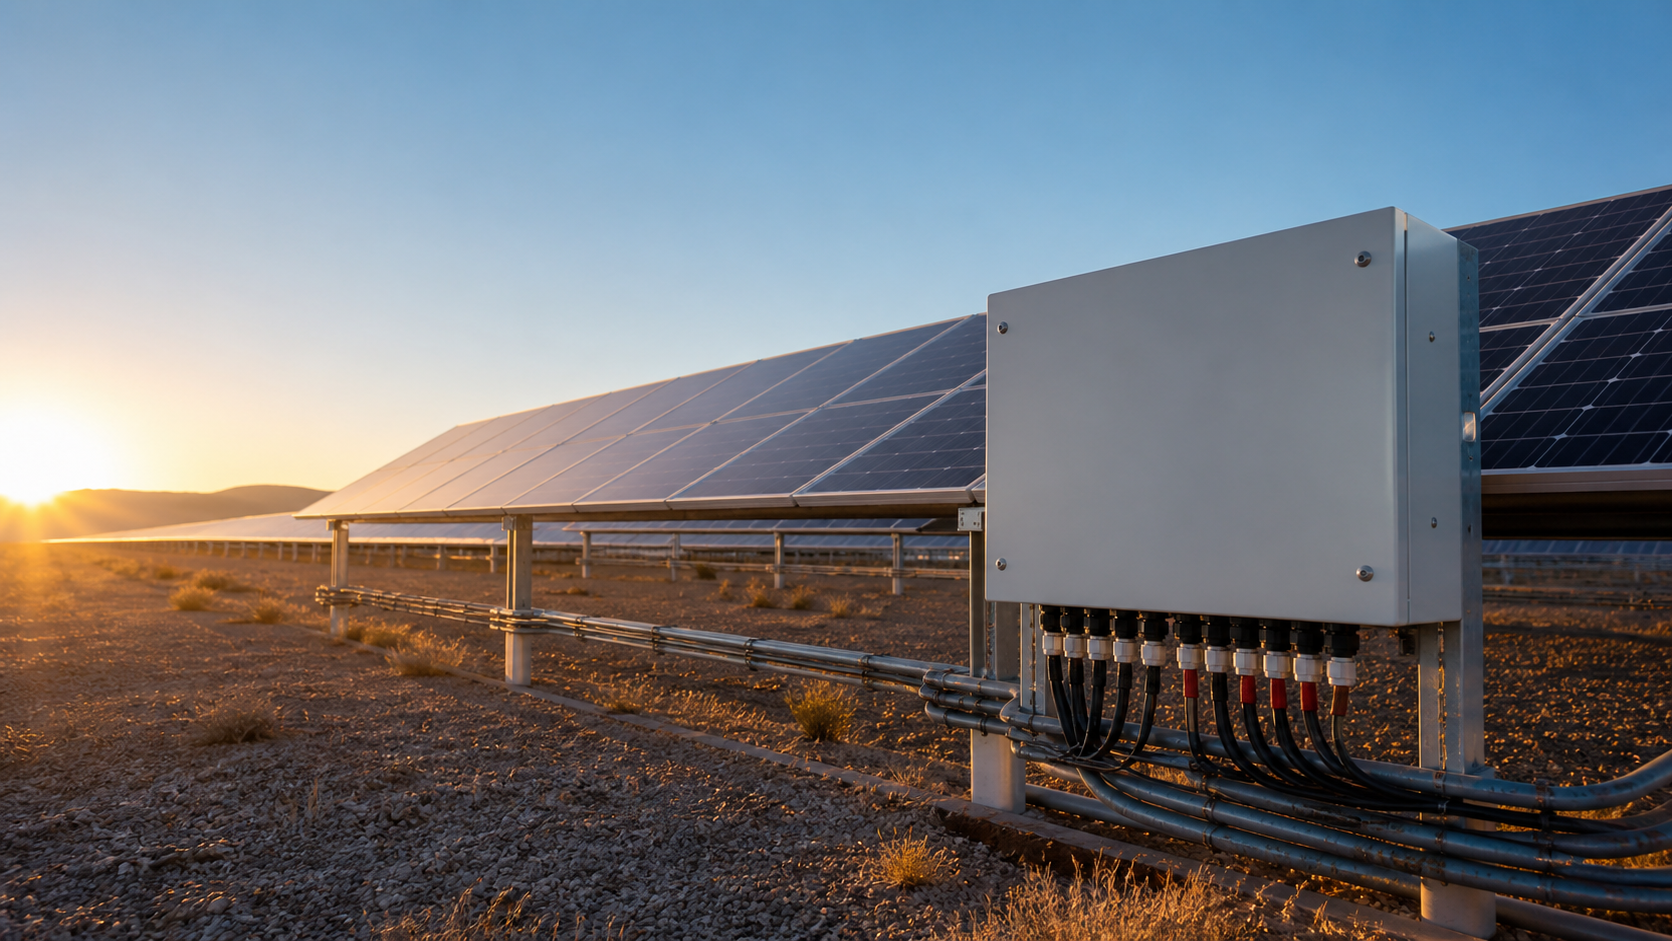
- Pole mount: select a clamp kit sized to the pole diameter, keep the box clear of routine maintenance paths, and orient the door for safe access.
- Floor mount: set the plinth above the highest expected water level and allow clearance for cable entry from below.
Fixing and levelling
Position the enclosure and level it before final tightening. An uneven box strains the door seal and can let water track into the terminals over time. Mark the fixing points, drill to the substrate, and fit the anchors. Tighten the primary fixings to the specified torque and re-check the level once the box is held firmly. Leave adequate space around the enclosure for door swing and for heat dissipation.
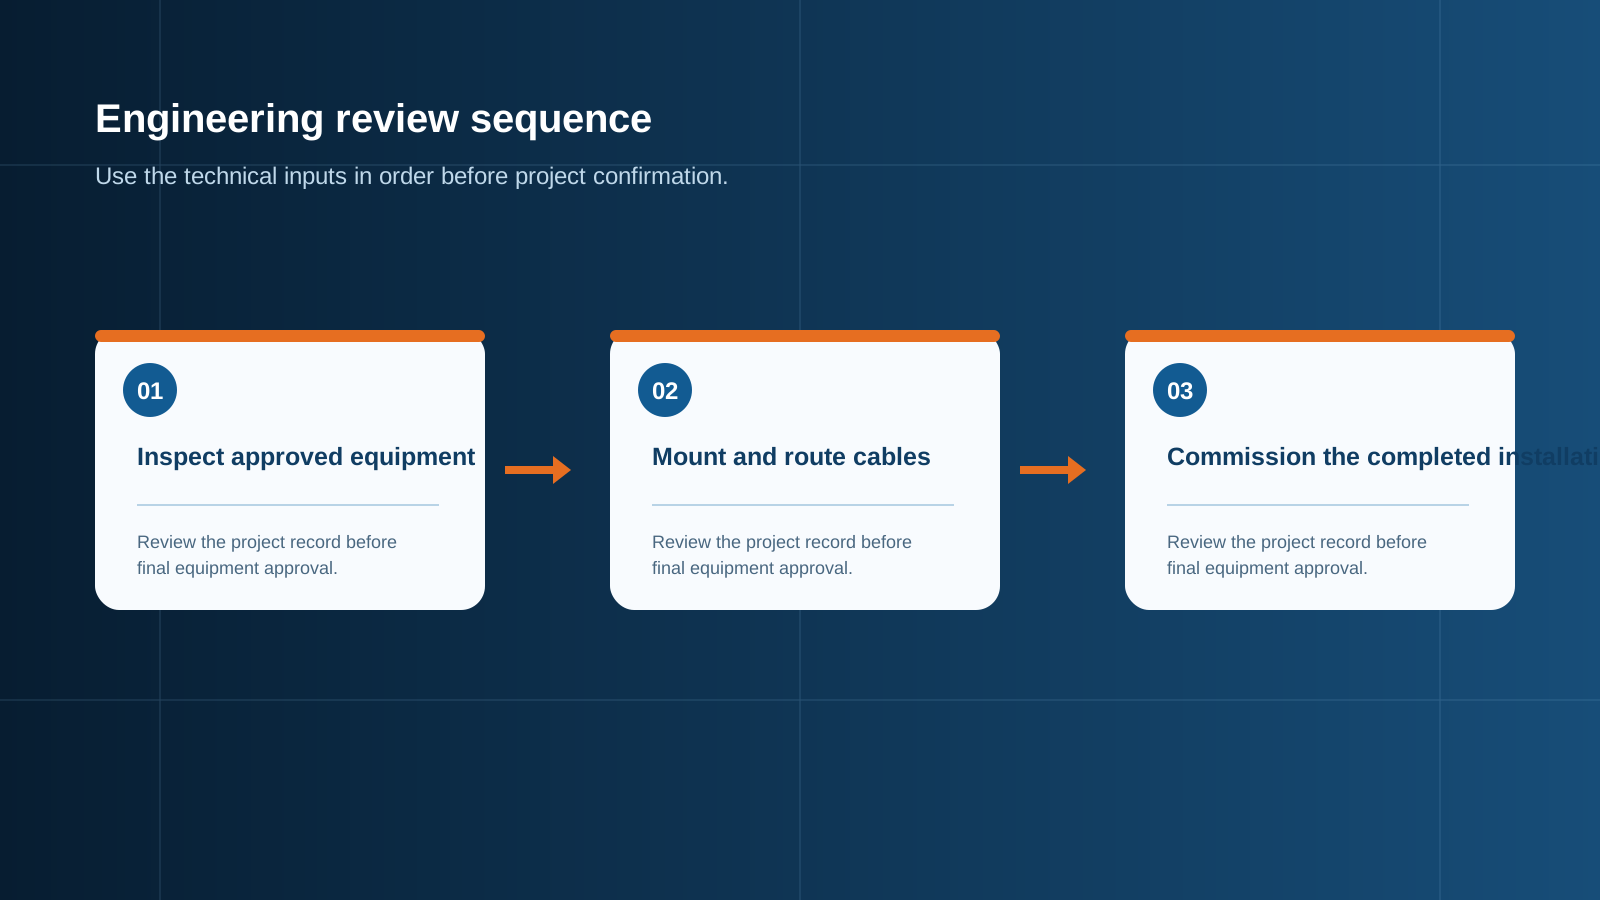
Technical diagram shown at a readable responsive scale.
Routing string cables
Route each PV string cable from the array to its assigned input gland. Maintain the manufacturer bend radius and keep DC positive and negative conductors of a pair together to limit induced loop area.
- Fit the correct gland size for the cable outer diameter and tighten the seal so the cable cannot be pulled free.
- Separate DC string cables from any AC or communication wiring to reduce interference.
- Identify every conductor at both ends with a durable label that matches the terminal schedule.
- Avoid sharp edges; use bushings where cables pass through metal surfaces.
Connecting fuses and DC isolator
Insert the gPV fuses into their holders only after the string cables are landed and verified de-energised. The DC disconnect switch should remain in the OFF position until commissioning. Land each positive and negative conductor on its marked terminal and tighten to the torque value stated on the rating plate. Loose terminations are a leading cause of hotspot failures in the field.
- Match each string to its fused input; do not bridge protection across strings.
- Confirm the DC isolator is OFF and the operating handle is accessible and clearly marked.
- Re-check that no stray conductor strands short across adjacent terminals.
SPD and grounding
Fit the surge protective device in its designated position and connect its earth lead to the PE bonding bar with the shortest practical route. A long, loosely routed earth lead reduces the SPD effectiveness during a surge event. Bond the enclosure metalwork to the site earth grid through the PE terminal using a conductor sized to the design.
- Keep the SPD earth path short, straight and low-impedance.
- Bond the door, gland plates and internal chassis to the main PE bar.
- Verify continuity from every exposed metal part back to the site earth electrode.
Sealing and labelling
Once the internal wiring is complete, close the enclosure and seal every cable entry. The IP rating is only valid if the glands and the door gasket are correctly seated. Apply the external labels that identify the box, its string inputs, the disconnect, and the SPD status window.
- Tighten all cable glands to the recommended torque and confirm the compression seal grips the cable.
- Fit a schematic and a string schedule inside the door where the design requires it.
- Mark the disconnect switch with its isolation point and lock-off provision.
Commissioning sequence
Commissioning follows a defined, safe order. Never energise the output toward the inverter until the per-string checks are passed. The detailed test values are covered in the commissioning checklist guide; the installation sequence here ends with handing the box to the electrical test team.
- Confirm all fuses seated, isolator OFF, SPD fitted and earth bonded.
- Perform insulation resistance and open-circuit voltage checks per string before closing the output.
- Verify polarity and then close the DC isolator only after the inverter side is ready.
- Record the as-built label set and hand over the documentation to the commissioning engineer.
This is general technical guidance. Confirm final ratings, protection coordination, installation and applicable local requirements against current standards, manufacturer documentation and the approved project design.
Frequently asked questions
Can I mount a PV combiner box outdoors?
Yes. NEUTRON combiner boxes are built for outdoor duty when the specified IP and corrosion class match the site. Verify the rating before installation and keep cable glands sealed to preserve the ingress protection.
How do I fix a combiner box to a pole?
Use a pole-mount clamp kit sized to the pole diameter. Position the enclosure clear of access paths, level it, and tighten the clamps to the stated torque so the box cannot rotate or slip under wind load.
What is the correct wiring order?
Route and label string cables first, land them on the fused inputs with the isolator OFF, fit the SPD and bond the earth, then seal the box. Only after insulation and voltage checks should the DC isolator be closed.
Why does torque matter on terminations?
Correct torque gives a stable, low-resistance contact. Under-tightened terminals loosen with thermal cycling and overheat; over-tightened ones deform the conductor. Both shorten the life of the connection.
When should the box be commissioned?
Commission only after fixing, wiring, grounding and sealing are complete and the per-string insulation and open-circuit voltage tests have passed. The inverter side must be ready before the DC isolator is closed.
Discuss your PV combiner requirement
Share the system voltage, string count, inverter interface and installation environment. NEUTRON can review the equipment configuration around your project documentation.
Discuss a projectContinue learning
Explore related technical guidance in Solar PV.
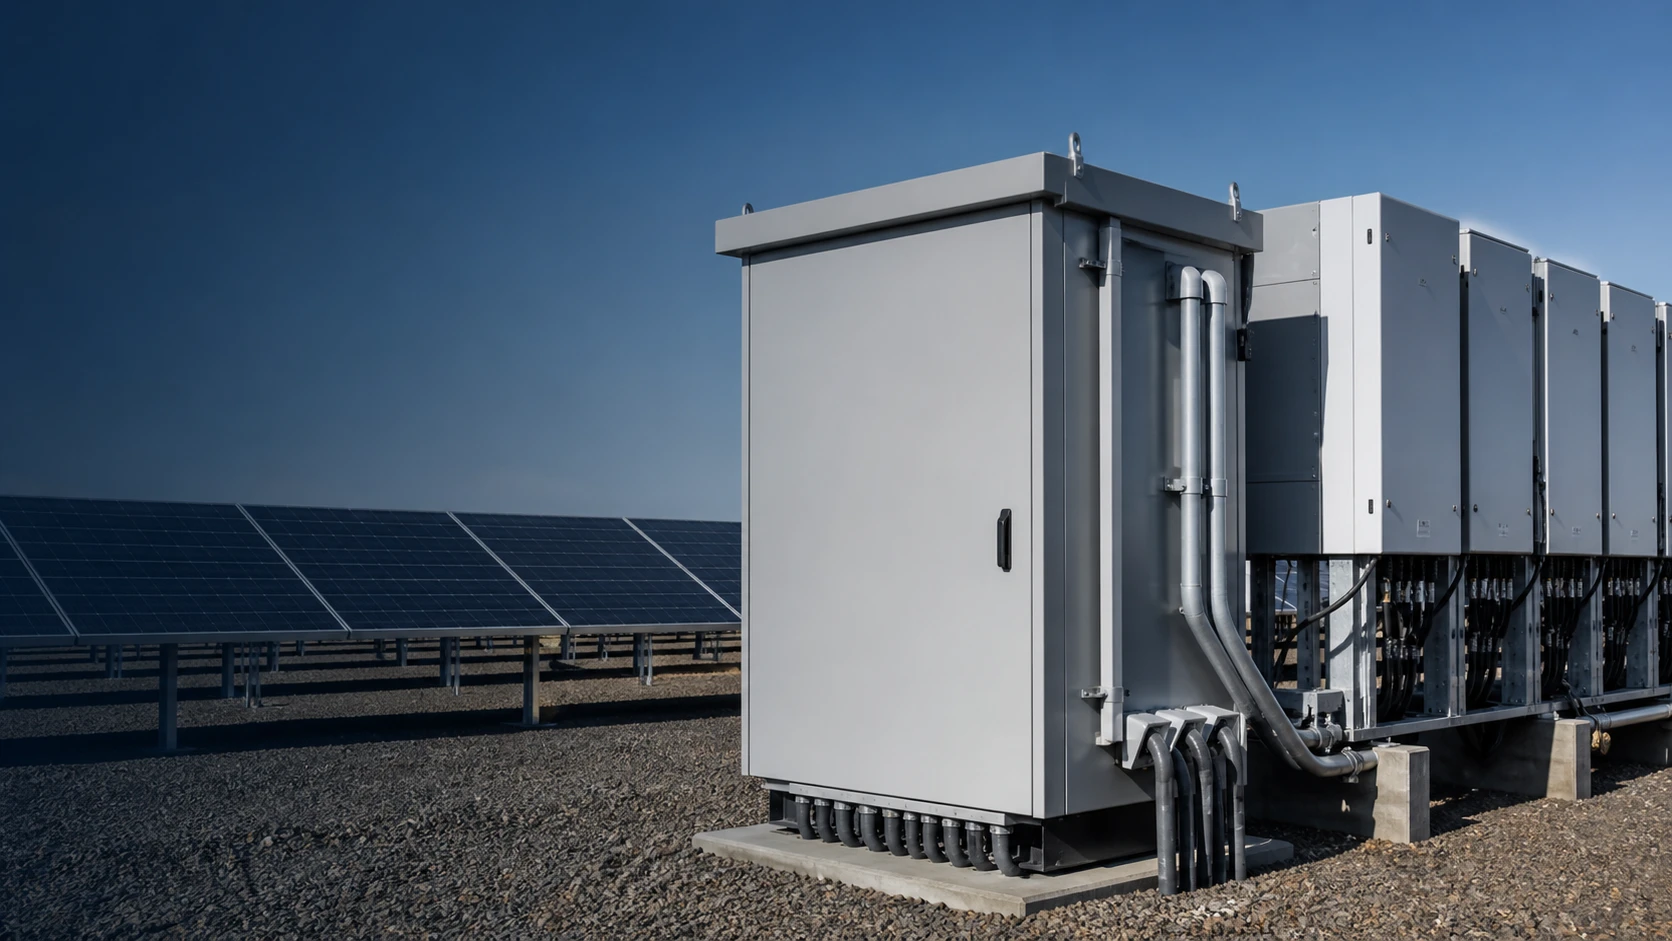
Published from the approved Period 09 source package. Technical values and final design decisions must be verified against the current applicable standard, manufacturer documentation and approved project design.